How to Remove Mold Yourself: Step-by-Step Guide
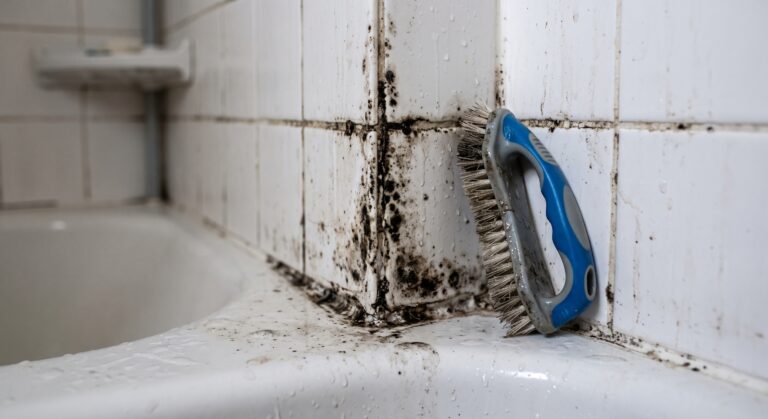
Most mold problems in a home are small enough to handle yourself: black spots in the shower, a patch on a window sill, fuzzy growth on a few basement joists. With the right gear, the right cleaner and a clear process, you can remove it safely and make sure it stays gone.
Quick answer: to remove mold yourself, first make sure the job is small enough (under about 10 square feet) and the water source is fixed. Wear an N95 mask, gloves and goggles, and ventilate the area. Lightly mist the mold, clean hard surfaces with detergent and water or a mold cleaner, throw away moldy porous items, and dry everything completely within 24 to 48 hours. Then control humidity so it doesn’t come back.
This guide walks you through every step, from deciding whether DIY is safe to checking that the job worked.
Can you remove the mold yourself?
The EPA suggests that most homeowners can handle mold covering less than about 10 square feet (roughly a 3 ft × 3 ft patch). Use this checklist before you start:
| ✅ DIY is usually fine if… | ❌ Call a professional if… |
|---|---|
| The area is under about 10 sq ft | It’s larger than 10 sq ft or spreading |
| It’s on a hard or surface-level material | It’s inside walls, ceilings, floors or HVAC ducts |
| The water source is known and fixed | The cause is unknown or ongoing |
| The water was clean (leak, condensation) | It came from sewage or floodwater |
| Everyone at home is healthy | Anyone has asthma, allergies or a weak immune system |
| You’re comfortable with the job | You’d need to cut into walls near wiring or plumbing |
Safety gear you need
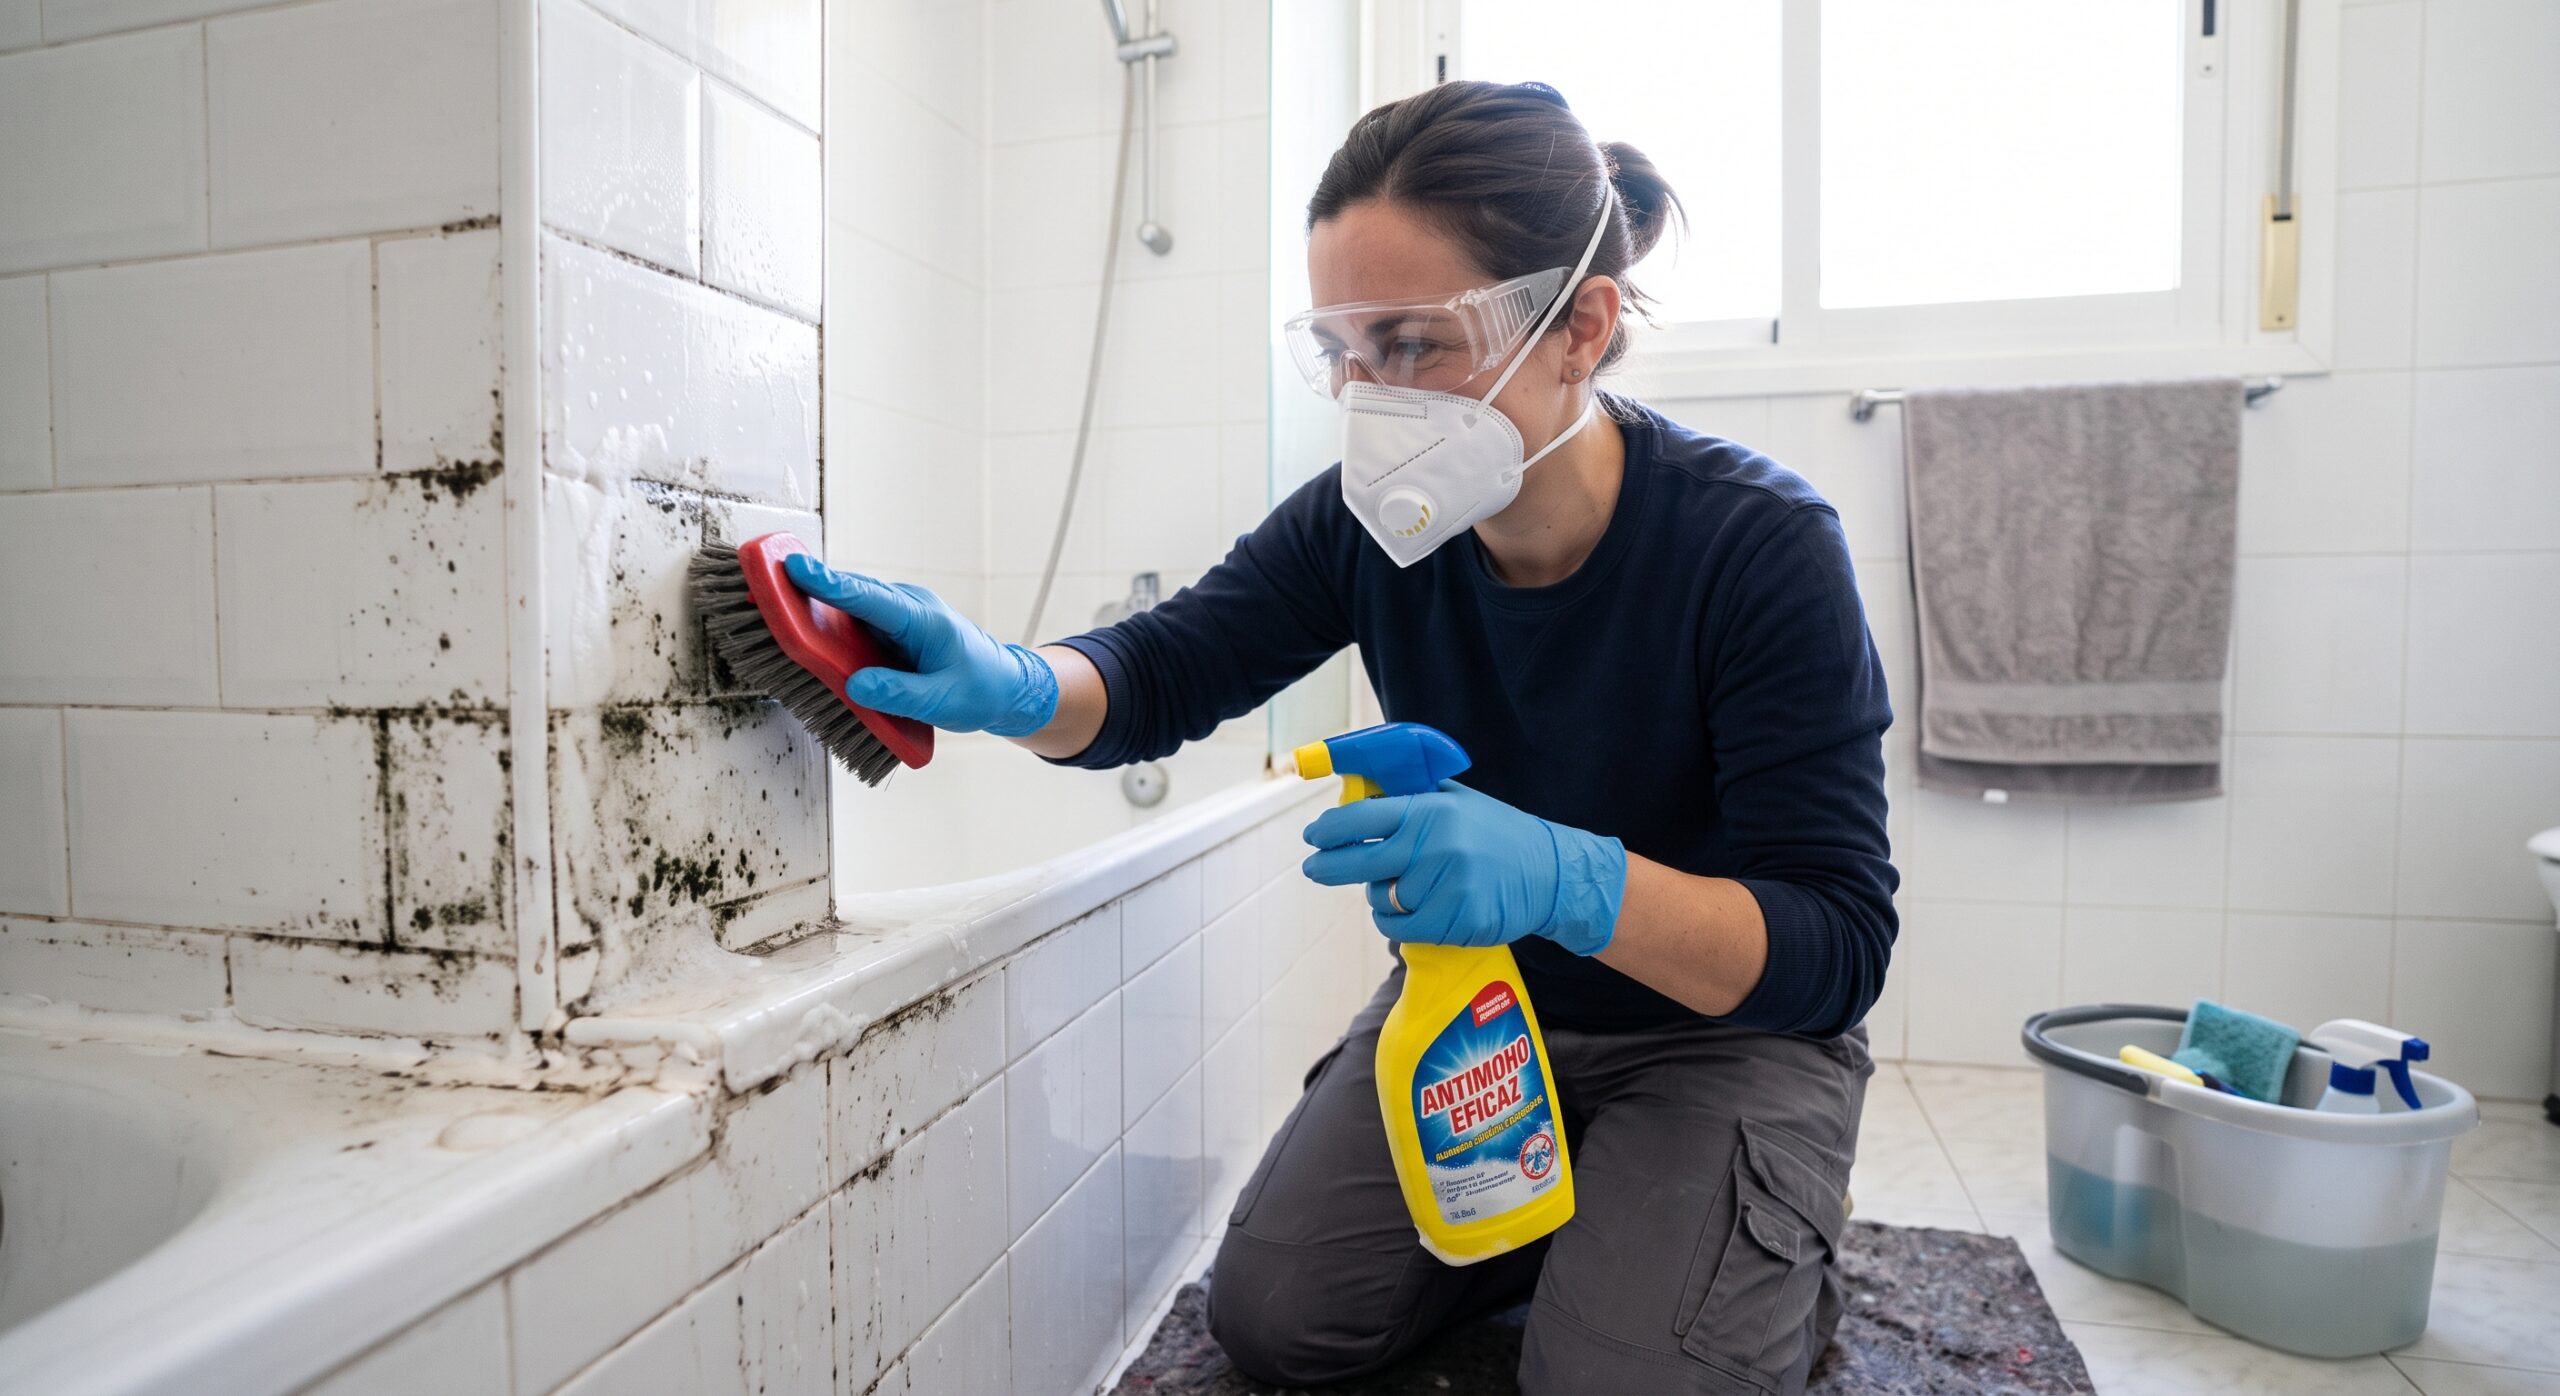
- N95 respirator mask. A dust mask or cloth mask isn’t enough to stop mold spores.
- Rubber or nitrile gloves that reach the middle of your forearm.
- Safety goggles without vent holes, to keep spores and cleaner out of your eyes.
- Old clothes you can wash right away in hot water, or disposable coveralls for bigger jobs.
Supplies checklist
- Spray bottle
- Mold cleaner, detergent, or 3% hydrogen peroxide (see the table below)
- Scrub brushes (soft and stiff) and an old toothbrush
- Microfiber cloths or disposable rags
- Heavy-duty trash bags
- A HEPA vacuum, if you have one
- Fans and a dehumidifier for drying
- Plastic sheeting and painter’s tape (for larger areas)
- A moisture meter (optional but useful)
Which cleaner to use on which surface
Materials fall into three groups, and the group decides whether you clean it or throw it away.
| Material type | Examples | What to do | Best cleaners |
|---|---|---|---|
| Hard, non-porous | Tile, glass, metal, sealed countertops, plastic, porcelain | Clean and reuse | Detergent and water, mold cleaner, hydrogen peroxide, or diluted bleach (1 cup per gallon of water) |
| Semi-porous | Solid wood, concrete, grout, painted walls | Clean, and sand or seal if needed | Detergent and water, wood-safe mold cleaner, white vinegar, hydrogen peroxide |
| Porous | Drywall, ceiling tiles, carpet and padding, insulation, cardboard, upholstered furniture, mattresses | Usually remove and replace if moldy | Only light surface spots can be cleaned; deep mold means throwing it away |
A note on bleach
Bleach can clean mold off hard surfaces, but it isn’t the best all-around choice. It doesn’t soak into porous materials where mold roots grow, its water content can feed mold, and it gives off harsh fumes. Never mix bleach with ammonia, vinegar or other cleaners; it creates toxic gases. For most jobs, detergent and water or hydrogen peroxide work just as well.
How to remove mold: step by step
Step 1: Find and fix the moisture source
This is the most important step, and it comes first. Mold always comes back if the water does. Look for leaking pipes, roof or window leaks, condensation, poor ventilation or high humidity, and fix it before you clean.
Step 2: Protect yourself and the rest of the house
Put on your mask, gloves and goggles. Keep children and pets away. Close interior doors, and for larger areas, tape plastic sheeting over doorways and air vents. Open a window and place a fan blowing air outside.
Step 3: Remove what can’t be saved
Put moldy porous items, such as cardboard, old carpet, ceiling tiles or soaked drywall, straight into heavy-duty trash bags. Seal the bags before carrying them through the house.
Step 4: Mist the mold lightly
Spray a little water or cleaner on the moldy area. Damp mold releases far fewer spores than dry mold when you disturb it. Don’t soak porous surfaces.
Step 5: Clean the surface
- Hard surfaces: spray your cleaner, wait about 10 minutes, scrub with a brush, and wipe clean.
- Wood: scrub along the grain with detergent or a wood-safe cleaner. If stains remain on unfinished wood, sand lightly with a HEPA vacuum nearby.
- Grout: use a baking soda paste and a grout brush, then hydrogen peroxide for dark stains.
- Painted walls: wipe gently; hard scrubbing can damage paint and spread spores.
Use disposable rags or wash cloths right away in hot water.
Step 6: Dry everything completely
Mold needs moisture, so drying is as important as cleaning. Use fans and a dehumidifier, and aim to have everything dry within 24 to 48 hours. A moisture meter can confirm wood and walls are dry.
Step 7: HEPA-vacuum and clean up
Once dry, HEPA-vacuum the area and surrounding floors to pick up any leftover spores. Wipe nearby surfaces. Take off your protective clothing carefully and wash it in hot water.
Step 8: Seal or repaint (optional)
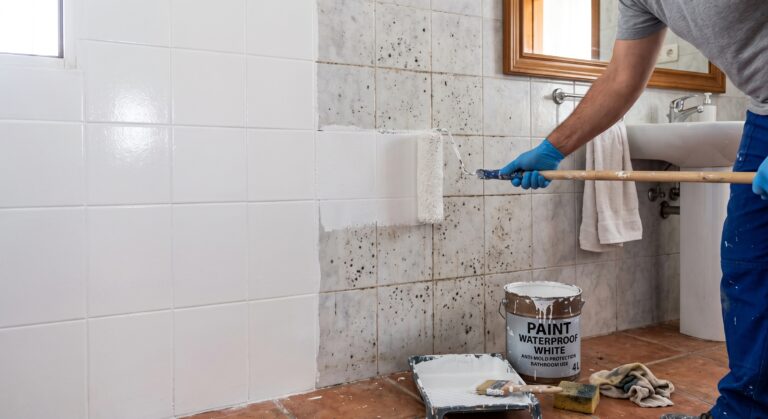
On clean, fully dry surfaces, a mold-resistant primer or paint adds extra protection, especially in bathrooms and basements. Never paint over mold you haven’t removed.
Step 9: Check your work
The job worked if there’s no visible mold, no musty smell, and the area stays dry. Check it again after a week and after a month. If mold comes back, the moisture problem hasn’t been solved.
Common mistakes to avoid
- Cleaning without fixing the water problem. The mold will return, usually within weeks.
- Scrubbing dry mold. It sends spores into the air. Always mist first.
- Mixing cleaners. Bleach with ammonia or vinegar creates dangerous gases.
- Using bleach on drywall or wood. It doesn’t reach the roots and adds moisture.
- Painting over mold. It grows back through the paint.
- Skipping protective gear. A cloth mask doesn’t stop spores; use an N95.
- Running the HVAC system during cleaning. It can spread spores through the house. Turn it off while you work.
- Not drying fully. Damp surfaces after cleaning are an open invitation for mold.
- Keeping moldy porous items. Carpet, cardboard and soaked drywall rarely come clean.
When to call a professional
Call a mold remediation company if the mold covers more than about 10 square feet, is inside walls, ceilings, floors or HVAC systems, came from sewage or a flood, keeps coming back, or anyone at home is in a higher-risk group. Professionals use containment, negative air pressure and HEPA filtration to keep spores from spreading, and can test afterward to confirm the job is done.
Frequently asked questions
What kills mold best?
On hard surfaces, detergent and water, hydrogen peroxide, white vinegar, mold cleaners and diluted bleach all work. Removing the mold physically and drying the area matter more than which product you choose.
Do I need to test mold before removing it?
Usually not. The EPA says that if you can see or smell mold, you don’t need to know the type; just remove it and fix the moisture.
How long does it take to remove mold?
A small area can take an hour or two to clean, plus 24 to 48 hours of drying. Larger jobs can take several days.
Is it safe to stay in the house while removing mold?
For small DIY jobs, yes, as long as you contain the area and ventilate. Children, pets and anyone with health concerns should stay away from the work area.
Why does mold come back after I clean it?
Because moisture is still there. Fix leaks, improve ventilation and keep humidity between 30% and 50%.
Can I use a regular vacuum on mold?
It’s better not to. Regular vacuums can blow spores back into the air. Use a vacuum with a true HEPA filter.
Sources
- U.S. Environmental Protection Agency (EPA): A Brief Guide to Mold, Moisture, and Your Home
- Centers for Disease Control and Prevention (CDC): Mold
Last reviewed: October 2026. This article is for general information and is not medical, legal or professional advice.