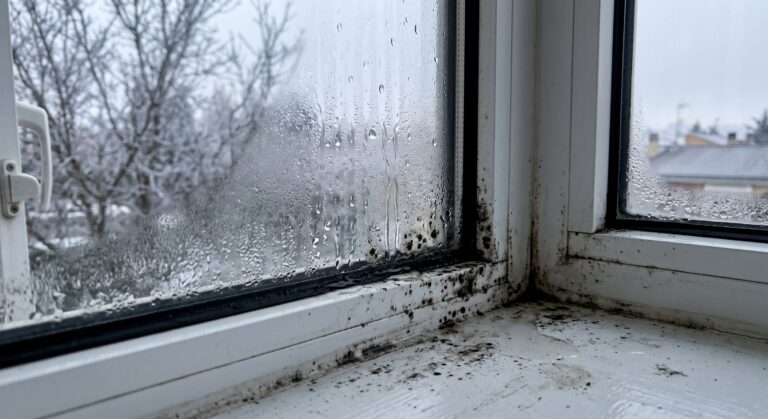

Mold Under the Kitchen Sink After a Leak
The cabinet under the kitchen sink is dark, closed and packed with pipes and cleaning products. That makes it one of the most common places for slow leaks and hidden mold. Many people only notice when they smell something musty or pull out a bottle and see dark stains on the cabinet floor.
Quick answer: mold under the kitchen sink is almost always caused by a slow leak from the drain, the water supply lines, the faucet or the dishwasher connection. First find and fix the leak. Then empty the cabinet, clean hard surfaces with a mold cleaner and let everything dry with the doors open. A cabinet base that’s swollen, soft or crumbling usually needs to be replaced, because particleboard can’t be saved once it’s soaked.
Signs of mold under the sink
- A musty smell when you open the cabinet doors
- Black, green or white spots on the cabinet floor, walls or back panel
- A cabinet base that’s swollen, warped, bubbling or soft
- Water stains, rings or puddles
- Rust on pipes, the shut-off valves or metal containers
- Peeling contact paper or shelf liner
- Stains on the wall behind the cabinet
Common causes of leaks under the sink
| Source | What goes wrong | Clue |
|---|---|---|
| Drain pipes (P-trap) | Loose slip nuts or worn washers | Drips when the sink drains |
| Water supply lines | Old or cracked hoses, loose connections | Constant slow drip, even when the sink isn’t used |
| Shut-off valves | Worn valve packing | Moisture around the valve handle |
| Faucet | Worn seals let water run down inside | Water appears after using the faucet |
| Dishwasher connection | Loose drain hose or supply line | Leaks during the dishwasher cycle |
| Garbage disposal | Failed seal or cracked body | Drips from the bottom of the unit |
| Sink edge | Failed caulk lets water run under the countertop | Stains at the top of the cabinet back panel |
How to find the leak
- Empty the cabinet completely.
- Dry everything with paper towels: pipes, valves and the cabinet base.
- Put down a dry paper towel on the cabinet floor.
- Run the faucet for a minute, then fill the sink and let it drain.
- Run the dishwasher and garbage disposal if you have them.
- Check every connection by running a dry tissue around it. The first damp spot is your leak.
Small leaks can often be fixed by tightening a slip nut by hand, replacing a washer, or swapping an old supply line. If the leak comes from a valve, the disposal or inside the wall, call a plumber.
[Foto: mano pasando un papel seco por la conexión de una tubería]
Is mold under the kitchen sink dangerous?
A small patch isn’t an emergency, but the kitchen is where you store and prepare food, so it’s worth dealing with quickly. Spores can spread when you open and close the cabinet, and the musty smell can reach the rest of the kitchen. People with allergies or asthma may notice a stuffy nose, sneezing or coughing. If symptoms improve when you’re away from home, talk to a doctor. This article is general information, not medical advice.
The bigger risk is often hidden damage: a long-running leak can soak the wall behind the cabinet and the subfloor underneath.
How to clean mold under the kitchen sink
What you’ll need: rubber gloves, safety goggles, an N95 mask, trash bags, paper towels, a spray bottle, a mold cleaner or 3% hydrogen peroxide, a scrub brush, microfiber cloths and a small fan.
- Protect yourself. Put on gloves, goggles and a mask.
- Empty the cabinet and throw away soaked cardboard, sponges, paper bags and anything moldy that can’t be washed.
- Wipe up any water and dry the area with paper towels.
- Spray the moldy areas with a mold cleaner or hydrogen peroxide and wait 10 minutes.
- Scrub the cabinet walls, floor and pipes, then wipe clean.
- Dry completely. Leave the doors open and point a fan into the cabinet for 24 to 48 hours.
- Check the cabinet base. If it’s swollen, soft or crumbling, cut out and replace it. Particleboard doesn’t recover once it’s soaked.
- Check the wall behind. If it’s stained, soft or smells strongly, the mold may be inside the wall.
Wash plastic containers and bottles before putting them back. Diluted bleach can work on hard, sealed surfaces, but it doesn’t help on particleboard, and it must never be mixed with other cleaners.
How to prevent mold under the sink
- Check monthly. Open the cabinet with a flashlight and look for drips, stains or a musty smell.
- Use a cabinet mat. A waterproof, raised-edge mat protects the base and shows leaks quickly.
- Install a water leak alarm. These cheap sensors beep or send a phone alert when they detect water.
- Keep products in a tray. Spills from cleaning bottles won’t soak the wood.
- Replace supply lines every 5 to 8 years, or sooner if they look worn. Braided stainless steel lines last longer.
- Reseal the sink edge when the caulk cracks or peels.
- Don’t overfill the cabinet. Air needs to move so the space can dry.
When to call a professional
Call a plumber if you can’t find or fix the leak, if it comes from a valve, the disposal or inside the wall, or if the leak has been going for a long time. Call a mold remediation company if the wall behind the cabinet or the subfloor is moldy, if the area is larger than about 10 square feet, or if the mold keeps coming back.
Frequently asked questions
How fast does mold grow after a leak under the sink?
Mold can start growing within 24 to 48 hours on damp wood or particleboard. That’s why even small drips should be dried quickly.
Can I save a swollen sink cabinet base?
Usually not. Swollen particleboard stays weak and can keep holding moisture. The base can often be replaced on its own without changing the whole cabinet.
Is black mold under the sink toxic?
Most black mold under sinks is a common type, not the rare «toxic black mold.» It should still be removed, and the leak fixed.
Does homeowners insurance cover a leak under the sink?
Sudden leaks, like a burst supply line, are often covered. Slow leaks that happened over weeks or months usually aren’t. Check your policy.
What’s the best cleaner for mold under the sink?
A household mold cleaner or 3% hydrogen peroxide works well on hard surfaces. Dry the area completely afterward.